6 Tips For Creating the Perfect Picture Wall
If you have a collection of precious pictures or art gathering dust in storage instead of being displayed proudly in your home, it’s time to get them out! A picture wall is a great way to show off your sentimental pieces in a modern and beautiful way.
While a quick Pinterest search will give you a ton of inspiration, it’s hard to translate what you see in a picture to what you actually have to work with. It’s important to know the fundamentals of building a great picture wall.
Here are our 6 tips for creating the perfect picture wall:
Choose a Spot for Your Picture Wall
Do you have a huge blank space on your wall begging to be adorned with beautiful family photos and art? Maybe you want to add some visual interest going up your stairs.
A picture wall is a great way to fill up empty space and get your pictures off of your Facebook or Instagram feed and into your home!
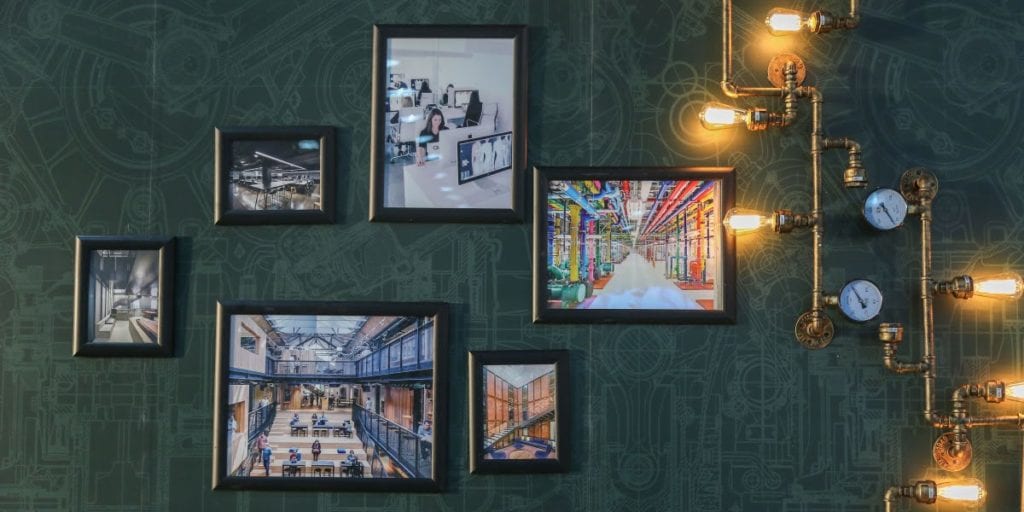
Choose Your Pictures & Art
Mix it up! Use old pictures, new pictures, artwork, maps, and even souvenirs collected from your travels!
Not sure where to start? Choose a theme. It can be anything from your family to nature. Or go with no theme at all. Whatever you choose will help you curate pieces and pictures that serve a purpose.
You can also start with one must-have piece and build off of that, using coordinating colors and shapes.
Keep Your Picture Wall Cohesive
You don’t want it to look as if you just threw things up on your wall randomly. A picture wall should be cohesive.
Start with frames and matting in the same colors to tie all pictures and art together.
When it comes to the colors in your pieces, refer to the color wheel. Choose coordinating hues that are complementary (across from each other on the wheel) or analogous (next to each other on the wheel) to make sure your wall looks well put together.
Plan It Out
Avoid putting accidental holes all over your wall. Play around with your layout on the floor! When you have found a setup you really like, snap a picture to refer to when you start hanging everything. This also ensures that you have enough pieces to fill your chosen space. Add or remove accordingly.
Build from the Bottom
If you are creating your picture wall over a piece of furniture, start from the bottom. That way, if you want to add later, you can build up and out while keeping it all balanced.
Level It Out
Break out your level! It is essential to get the first few photos straight. If they go on crooked, the whole wall will follow suit.
Don’t forget to evenly space everything. Two to 4 inches apart is standard without looking to crowded or overly spaced. Whatever spacing you choose needs to be used throughout the entire wall.
Quality Hardwood Stair Refacing with NuStair
Bring even more DIY beauty into your home with NuStair! Yes, you can update your stairs quickly and affordably all by yourself. With our revolutionary stair refacing system, and NuScribe measuring tool, you don’t need to be a professional to get the job done. If you would still prefer to have a professional do the job, we are happy to recommend one in your area. Contact us today!
<Read our 5 Tips For Decorating For The Holidays!>